

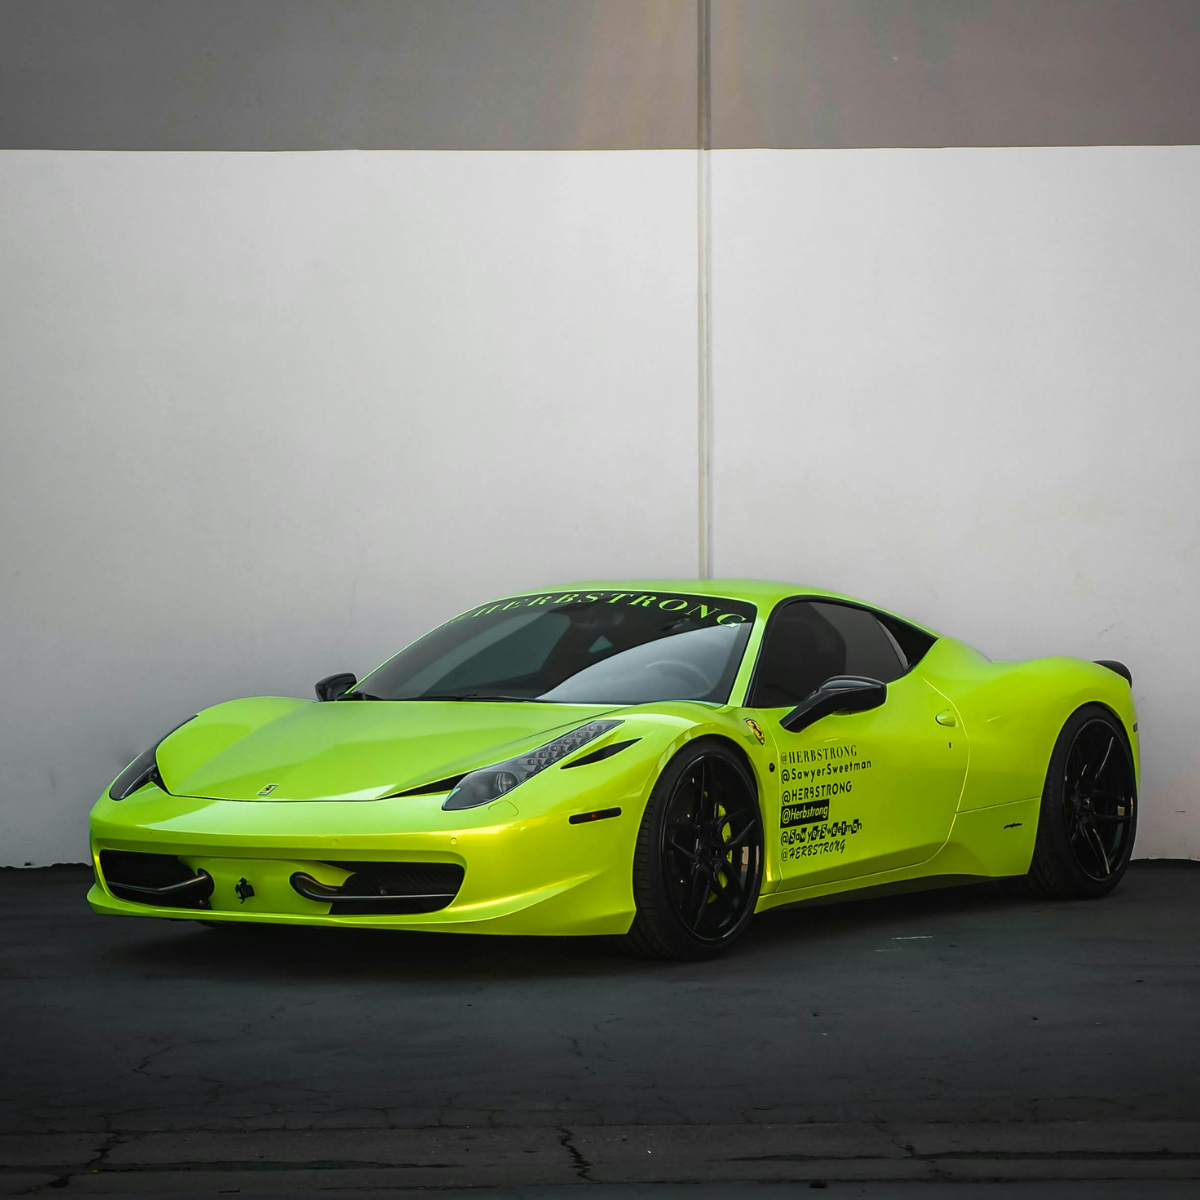
Whether you are a professional installer refreshing a fleet vehicle or a detail shop removing an aged wrap for a client, knowing how to remove vinyl wrap correctly is just as critical as the installation itself. A rushed or improper removal can result in damaged paint, stubborn adhesive residue, and costly repairs — all of which undermine client trust and your shop's reputation.
At Highcool, we supply commercial-grade vinyl wrap, PPF, and window film to B2B customers worldwide. Based on years of field feedback and technical expertise, this guide covers everything you need to confidently remove vinyl wrap — safely, efficiently, and without damaging the underlying surface.
Pro Tip: Proper removal technique protects not just the vehicle, but your professional reputation. Taking an extra 20 minutes to do it right saves hours of correction work.
1. Why Proper Vinyl Wrap Removal Matters
Vinyl wrap film is engineered to adhere strongly to vehicle surfaces — that is exactly what makes it durable. But this same bond becomes a challenge during removal if the proper process is not followed.
Common consequences of improper removal include:
• Clear coat lifting or paint stripping
• Adhesive residue permanently bonded to painted surfaces
• Micro-scratches and swirl marks from aggressive scraping
• Panel warping from excessive heat application
• Contamination that complicates re-wrapping or PPF installation
For B2B professionals — fleet managers, wrap installers, auto detail shops, and dealerships — these mistakes are not just cosmetic. They translate directly into client disputes, warranty claims, and lost business.
2. Tools & Materials You Need Before You Start
Having the right tools eliminates guesswork and prevents the most common removal mistakes. Here is a professional-grade toolkit:
Essential Tools
• Heat gun (adjustable, 100°C–180°C / 212°F–356°F range)
• Infrared thermometer — to monitor surface temperature precisely
• Plastic wrap removal tool / plastic squeegee (never metal)
• Knifeless tape or finger lifters for edge access
• Adhesive remover solution (IPA-based or commercial-grade)
• Isopropyl Alcohol (IPA) 70%–99% for final wipe-down
• Microfiber cloths (lint-free, high-gsm for safe wiping)
• Nitrile gloves for hand protection
Professional Upgrades
• Dual-temperature heat gun with LCD display — consistent heat output prevents hot spots
• Wrap removal steamer — ideal for large panel coverage and reduced arm fatigue
• Eraser wheel attachment (drill-mounted) — for stubborn adhesive on flat panels only
• Panel protection tape — to protect trim and rubber seals during heat application
Highcool Recommendation: We advise our B2B clients to invest in a commercial-grade heat gun with digital temperature control. Inconsistent heat is the leading cause of clear coat damage during removal.
3. Step-by-Step: How to Remove Vinyl Wrap
Follow this process panel by panel for optimal results. Never attempt to rush the removal by pulling quickly or skipping the heat stage.
Step 1 — Prepare the Vehicle
1. Wash the vehicle thoroughly to remove surface contaminants.
2. Work in a controlled environment: indoor garage preferred, temperature between 20°C–35°C (68°F–95°F).
3. Protect rubber seals, trim, and plastic components with masking tape.
4. Allow the vehicle surface to reach room temperature — cold surfaces cause wrap to become brittle and tear.
Step 2 — Apply Heat to the Vinyl
5. Set heat gun to 60°C–80°C (140°F–176°F) for standard cast vinyl; slightly higher for aged wrap.
6. Hold the gun 5–10 cm from the surface. Keep it moving in slow, overlapping passes — never hold it stationary.
7. The goal is to soften the adhesive layer, not to melt the film. The vinyl should feel warm and pliable to the touch.
8. Use an infrared thermometer to verify surface temperature stays below 80°C (176°F) to protect clear coat.
Step 3 — Peel the Vinyl at the Correct Angle
9. Lift a corner or edge using a fingernail, plastic pick, or knifeless tape.
10. Pull the film back slowly at a consistent 15°–45° angle — lower angles are better for older or more aggressive adhesives.
11. Maintain continuous, even tension. Do not yank or jerk the film.
12. If the vinyl begins to tear, apply more heat to that section before continuing.
13. Work in manageable strips — approximately 30–50 cm at a time on large panels.
Step 4 — Remove Adhesive Residue
14. After the wrap film is removed, inspect the surface for adhesive residue (appears as a hazy or sticky film).
15. Apply adhesive remover solution to a microfiber cloth — never spray directly onto the painted surface.
16. Wipe in gentle, circular motions. Do not scrub aggressively.
17. For stubborn residue, allow the remover to dwell for 30–60 seconds before wiping.
18. Use an eraser wheel at low speed (1,500–2,000 RPM) on flat, hard panels only — never on edges or curves.
Step 5 — Final Surface Clean
19. Wipe the entire panel down with IPA (70%–99%) on a clean microfiber cloth.
20. Allow the surface to dry completely before inspection.
21. Inspect under directional lighting for any remaining residue, micro-marring, or clear coat damage.
Time Estimate: A full vehicle wrap removal for a professional two-person team typically takes 4–8 hours depending on wrap age, coverage area, and surface complexity.
4. Handling Different Surfaces & Scenarios
Not all vinyl wrap removal situations are equal. Here is how professionals adapt the process for specific surfaces and conditions:
|
Surface / Scenario |
Key Considerations |
Special Technique |
|
Full vehicle body wrap |
Work panel by panel; prevent adhesive from cooling |
Section heating; 2-person team recommended |
|
Partial wrap / decals |
Edge adhesion is stronger; risk of paint lifting at borders |
Slow heat application at edges; use knifeless tape |
|
Headlights & taillights |
Polycarbonate is heat-sensitive; risk of crazing |
Lower heat (50°C–60°C max); hand warmth preferred |
|
Matte or satin finish paint |
These surfaces cannot be polished after damage |
Extra caution with adhesive removers; test first |
|
Chrome surfaces |
Chrome plating is thin and delicate |
Avoid IPA; use dedicated chrome-safe remover |
|
Aged wrap (3+ years) |
Adhesive degrades and bonds more aggressively |
Higher heat + longer dwell; expect more residue |
|
Textured surfaces |
Adhesive lodges in texture valleys |
Softer microfiber; extended dwell time for remover |
Working with Fleet Vehicles
Fleet operators and commercial vehicle managers often deal with vinyl wrap removal at scale. For large fleet projects, Highcool recommends the following efficiency strategies:
• Establish a standardized removal workflow per vehicle class
• Designate a dedicated temperature-controlled removal bay
• Use steam-based tools for high-volume throughput
• Document the pre-removal paint condition photographically to protect against liability
5. Common Mistakes & How to Avoid Them
Even experienced professionals make avoidable errors under time pressure. Understanding these mistakes is the difference between a clean result and a costly repair:
Mistake 1 — Using Excessive Heat
Applying too much heat — either too close or at too high a temperature — softens the clear coat and can permanently cloud or blister it. Always verify with an infrared thermometer and keep gun moving.
Mistake 2 — Peeling at Too Steep an Angle
Pulling vinyl at 90° greatly increases the risk of clear coat delamination. Maintain a low, consistent 15°–45° angle and let the heat do the work.
Mistake 3 — Using Metal Tools
Metal scrapers, razor blades, and even credit cards with sharp edges will scratch clear coat. Use only purpose-made plastic wrap tools or dedicated plastic squeegees.
Mistake 4 — Skipping Adhesive Removal
Residual adhesive left on the surface attracts dirt and oxidizes over time. Worse, it interferes with any subsequent PPF or new wrap installation. Always complete a thorough adhesive removal pass.
Mistake 5 — Working in Cold or Direct Sunlight
Cold temperatures cause vinyl film to become rigid and brittle, making it far more likely to tear mid-peel. Direct sunlight causes uneven heating and makes temperature control impossible. Work indoors whenever possible.
Mistake 6 — Rushing Large Panels
Attempting to peel an entire door panel in one long strip without reheating is a common shortcut that causes mid-panel tears and adhesive failure. Always heat in sections no larger than what can be peeled in 10–15 seconds.
Industry Insight: According to professional wrap installer data, approximately 65% of paint damage incidents during removal are caused by incorrect tool choice or incorrect peel angle — both fully preventable with proper training.
6. Paint Protection After Vinyl Wrap Removal
Once the wrap and all adhesive residue have been removed, the paint surface requires careful evaluation and protection. This step is especially important before re-wrapping, PPF application, or client handover.
Step 1 — Paint Inspection
Under controlled lighting (ideally LED inspection lights or a paint booth), examine all panels for:
• Swirl marks and light scratches from the removal process
• Clear coat hazing or cloudiness
• Paint oxidation that was concealed under the wrap
• Delamination or bubbling indicating pre-existing damage
Step 2 — Clay Bar Treatment
Even after adhesive removal, microscopic contaminants may remain bonded to the paint surface. A thorough clay bar treatment removes these particles and prepares the surface for polishing or protection coating.
Step 3 — Paint Correction (If Required)
Light swirl marks and micro-marring introduced during removal can usually be addressed with a single-stage machine polish using a dual-action (DA) polisher. Deep scratches that penetrate to the primer layer require professional wet sanding and respray.
Step 4 — Choose Your Surface Protection
Once the paint is clean and corrected, decide on the next protective layer based on client needs:
|
Protection Option |
Best For |
Durability |
Notes |
|
New Vinyl Wrap |
Style change, color update, fleet branding |
3–7 years |
Highcool commercial-grade cast vinyl recommended |
|
PPF (Paint Protection Film) |
High-end vehicles, stone chip protection |
7–10 years |
Highcool PPF series available in matte & gloss |
|
Ceramic Coating |
Long-term gloss and chemical resistance |
3–5 years |
Best applied over corrected paint |
|
Paint Sealant / Wax |
Short-term protection, budget-conscious |
3–6 months |
Entry-level option between wraps |
Highcool B2B Advantage: Our PPF and vinyl wrap products are engineered for seamless transition — meaning a Highcool wrap removal leaves surfaces in optimal condition for direct Highcool PPF application without additional priming steps.
7. When to Recommend Professional Removal
For B2B customers advising end clients, or shop managers evaluating job scope, here are the clear indicators that removal should be handled by a trained professional rather than attempted as a DIY project:
• Wrap is more than 5 years old — adhesive degradation makes removal significantly more complex
• Pre-existing paint damage beneath the wrap — risk of worsening condition
• The vehicle has a factory matte, satin, or specialty paint finish — high sensitivity to abrasion
• Full wrap on a high-value or exotic vehicle — risk cannot justify cost savings
• The removal is part of a preparation for PPF or ceramic coating installation — surface must be pristine
• The installer observes clear coat lifting at any point during removal — stop immediately
Professional removal services also provide documented pre- and post-condition reports, which protect both the shop and the client from liability disputes.
8. Highcool's Approach to Professional-Grade Vinyl Products
Understanding removal starts with understanding the product. Highcool engineers our vinyl wrap, PPF, and window film specifically for B2B applications — which means we consider not just application performance, but removability as a core product attribute.
Key product characteristics that support clean removal:
• Low-tack repositionable adhesive on short-term promotional wraps
• Controlled-release adhesive technology on long-term cast vinyl series
• Air-channel release liner for bubble-free application that also aids clean peel during removal
• UV-stabilized film construction that resists edge lifting for the product's rated lifespan
When sourcing wrap materials for your shop or fleet program, choosing engineered-for-removal products is as important as any application consideration. Cheap calendar vinyl, in particular, is notorious for catastrophic adhesive failure that makes clean removal nearly impossible after 18–24 months.
B2B Procurement Tip: Always specify cast vinyl over calendered vinyl for any wrap intended to last more than 2 years. The cost difference per square meter is far smaller than the labour cost of a difficult removal.
Conclusion
Removing vinyl wrap safely is a technical skill that protects your clients' vehicles, your shop's reputation, and your bottom line. The key principles are consistent: use the right heat, peel at the right angle, eliminate adhesive residue thoroughly, and protect the paint afterward.
For professional installers, fleet managers, and B2B operators, the investment in proper technique and quality materials pays dividends far beyond any single job. A clean removal creates the perfect foundation for the next wrap, PPF application, or paint protection treatment — and a client who trusts your expertise.
At Highcool, we support our B2B clients at every stage of the vehicle wrap lifecycle — from product selection and technical specifications through to removal guidance and surface preparation advice. Our commercial-grade vinyl wrap, PPF, and window film products are engineered for professional performance from day one through to final removal.
Ready to upgrade your wrap program? Contact Highcool's B2B team for product specifications, pricing, and technical support.
www.highcool.com | B2B Inquiries Welcome
Share:
Vinyl Wrap vs PPF: 8 Key Differences Explained for Smart Buyers
How to Clean and Maintain Vinyl Wrap: The Professional Vinyl Wrap Care Guide