
Most vinyl wrap installation problems come from three places: a surface that was not clean, heat that was wrong or skipped, and film that was the wrong type for the panel. Edge lift, bubbles, early peeling, wrinkles at curves, heat creep, moisture under the edges, fading and dirty removal each trace back to one of those. Fix the cause and the problem stops coming back.
A redo costs more than the film. You lose the panel, the labor to strip and reapply it, a bay for most of a day, and some of the customer's trust. On a branded van, a lifting corner is also parked in front of every fleet manager who might have called you. So the order of this guide is the order of a callback: what you see, why it happened, how to fix it, how to stop it next time.
8 Vinyl Wrap Installation Problems and How to Fix Them
1. Edge Lift and Lifting Corners
Edges lift when the adhesive at the boundary never fully bonded or the film is pulling back toward its original shape. The usual causes are wax or dust left at the panel edge, overstretching at door edges and trim, and post-heat that was skipped or too cool. Calendered film in a deep recess will also pull back over time, however well it was installed.
If the edge is still clean and the job is recent, lift it gently with a plastic tool, clean the paint with isopropyl alcohol, let it flash off, warm the area, press the edge down from the center outward, and post-heat it. If dirt has got into the adhesive, replace the section. Contaminated adhesive will not hold for long.
2. Air Bubbles After Installation
Bubbles that appear right after install are usually trapped air from squeegeeing edge-inward, from passes that did not overlap, or from film without air-release channels in the adhesive. Bubbles with a speck in the middle are contamination, and those do not go away.
For a soft air bubble, warm it gently and press it toward the nearest edge; if it stays, prick it at the edge with a fine needle and press the air out. For a bubble with dirt in it, the panel comes off. To prevent both, squeegee from the center out, overlap each pass by about half the blade, and keep the panel dry. Our guide to vinyl wrap bubbles sorts the bubble types by how they look.
3. Peeling in the First Year
When film peels across a panel in its first year, the adhesive usually bonded to something other than the paint: wax, silicone from a polish, dealer transport coating. Fresh paint that has not fully cured and paint that was already chipping or flaking cause the same failure.
A small area can be cleaned, warmed and pressed down. Peeling across several panels means a full strip, finding where the contamination came from, and a complete prep before the new film goes on. Check the paint before you quote. Flag chips, rust, resprays and clear coat failure in writing so the customer knows the wrap cannot be better than what it sits on. For more on this one, see vinyl wrap peeling causes and fixes.
4. Wrinkles and Fish-Tails at Compound Curves
Wrinkles form when the film is stretched hard in one direction and bunches in the other, or when it goes into a curve cold. Leaving too much excess at the edges makes it worse, because the extra film folds and traps dirt.
Warm the wrinkled area, lift the film without pulling, and let the heat relax it. Then lay it again with the heat just ahead of the squeegee. If it will not lie flat, a relief cut is better than forcing it. A neat cut in a hidden spot is invisible; a fish-tail on a mirror cap is not. Trim the excess to a small even margin before you tuck, and post-heat the corners.
5. Film Creeping on Hot Horizontal Panels
On a dark roof or hood in a hot market, the panel surface gets far hotter than the air. Some adhesives soften at those temperatures and the film slowly creeps or lifts at the trailing edges. The doors on the same car often look fine, which confuses the customer.
The fix is a replacement panel in a film whose adhesive is rated for the heat. Before you order for the Middle East, Southeast Asia, Australia, the US Southwest or similar markets, ask the supplier for the adhesive temperature rating on the data sheet. Our vinyl wrap adhesive guide explains the main adhesive types.
6. Moisture and Silvering Near the Edges
Hazy patches near the edges are often water. It got in during a humid install, was not fully pushed out of a seam, or came in later through an unsealed edge after washing.
Warm the area gently and give it a day; moisture often clears on its own. If it does not improve, the section comes off. To avoid it, do not install in rain or high humidity without a closed bay, dry every edge before you close it, and seal edges on cars that will be washed often.
7. Early Fading on the Roof and Hood
Fading shows first on horizontal panels because they take the most sun. It comes from the film's UV durability, the color (bright reds, oranges and yellows usually go first), and on printed wraps, a missing overlaminate.
Faded film cannot be polished back. It can only be replaced. When you re-spec, match the film's outdoor rating to how long the customer expects the wrap to last and to the local sun, and always laminate printed fleet graphics.
8. Adhesive Residue or Paint Damage on Removal
Removal goes wrong when the film was left on long past its rated life, when it is pulled cold, or when the paint underneath was weak. Old adhesive bonds harder, and cold film tears instead of peeling.
Warm each panel before you pull, peel at a low angle, and take residue off with a vinyl-safe adhesive remover and a plastic scraper. Put a removal timeline in the customer's paperwork so the wrap comes off while it still releases cleanly.
Quick Reference: Problem, Cause, Fix
| Problem | Usual cause | Fix |
|---|---|---|
| Edge lift | Dirty edge, overstretch, no post-heat | Clean, re-press, post-heat; replace if adhesive is dirty |
| Air bubbles | Edge-in squeegee, no air-release liner | Warm and press out; prick at the edge |
| Peeling in year one | Wax or silicone, fresh or weak paint | Strip, find the source, full prep |
| Wrinkles at curves | Cold film, one-way stretch | Heat, relax, relay; relief cut |
| Creep on hot panels | Adhesive not rated for the heat | Replace with heat-rated film |
| Moisture near edges | Humid install, open edges | Warm and wait; replace if it stays |
| Fading | Low UV rating, bright color, no laminate | Replace; match rating to climate |
| Residue on removal | Film too old, pulled cold | Warm, low-angle peel, remover |
Surface Prep That Prevents Most of These
Every shop says it preps. The difference is between a quick soap wash and the full sequence. Run it on every car, including brand-new ones, because transport wax and dealer polish cannot be seen.
- Wash with a pH-neutral soap that has no wax or gloss enhancer. Rinse and let the car dry fully.
- Use an iron fallout remover on cars with brake dust or rail dust.
- Clay every panel with clay lubricant. When the clay glides without picking anything up, the panel is clean.
- Wipe with isopropyl alcohol after the clay. Clay lube leaves a film of its own, and wrapping over it is one of the most common reasons edges let go.
- Inspect under a raking light for chips, rust and clear coat failure, and write down what you find.
- Check the panel temperature with an infrared thermometer before the film goes on.
Temperature: Measure the Panel, Not the Room
Film installs best inside the temperature range on its install bulletin. Too cold, and it gets stiff, stretches less and the adhesive does not wet out. Too hot, and the adhesive grabs before you can position the film, and the face overstretches on curves.
The air temperature in the bay is not the number that matters. A dark hood under a skylight can be much hotter than the room. A car that sat outside on a winter night can stay colder than the room for hours. Measure the panel surface. If the car came in cold, let it warm up inside before you start.
Post-Heat: The Step That Decides Edge Life
Heat used to stretch film into a curve is a different step from post-heat. Post-heat comes after the panel is laid. It relaxes the film so it stops trying to pull back and finishes the bond at edges, recesses and around door handles. Skip it and the edge lift shows up a few weeks later.
Use the post-heat temperature from the film maker's bulletin and check it with an infrared thermometer at the film surface. Do not judge it by gun distance or feel. Let the panel cool, then inspect every edge and recess again, because tension lift often only shows after the film cools.
Film Problems Technique Cannot Fix
Some failures are decided when the film is ordered. Cast film is cast flat as a liquid and has very little memory, so it stays down in deep channels and recesses. Calendered film is pressed through heated rollers and wants to return to its original shape. It costs less and works well on flat and gently curved panels, but in a deep recess it can pull back over time no matter who installed it. Our cast vs calendered vinyl wrap comparison goes through the differences.
Thickness causes confusion too. Some suppliers quote the face film alone, others quote face film plus adhesive and liner. Ask which one the number is. A thick face film is stiffer and harder to work into tight shapes. The vinyl wrap thickness guide explains which ranges suit which jobs.
Ask for the data sheet with every order, even from a supplier you trust. Distributors change sources, and a roll in the same box with the same name can be a different film. Without the paper, you have nothing to hold anyone to when a wrap fails early.
Fleet Jobs: Order Once, From One Batch
Colors drift a little between production runs. On a single car nobody sees it. On twenty vans parked in a row, they do. Work out the film area per vehicle from real measurements, since SUVs, pickups and tall vans use much more film than a sedan estimate suggests. Then order the whole program, plus a spare roll for redos, from one batch before the first vehicle goes in the bay. A top-up order halfway through is how a fleet ends up two shades of white. For the money side of running wrap jobs, see how wrap shops make money.
What HIGHCOOL Supplies
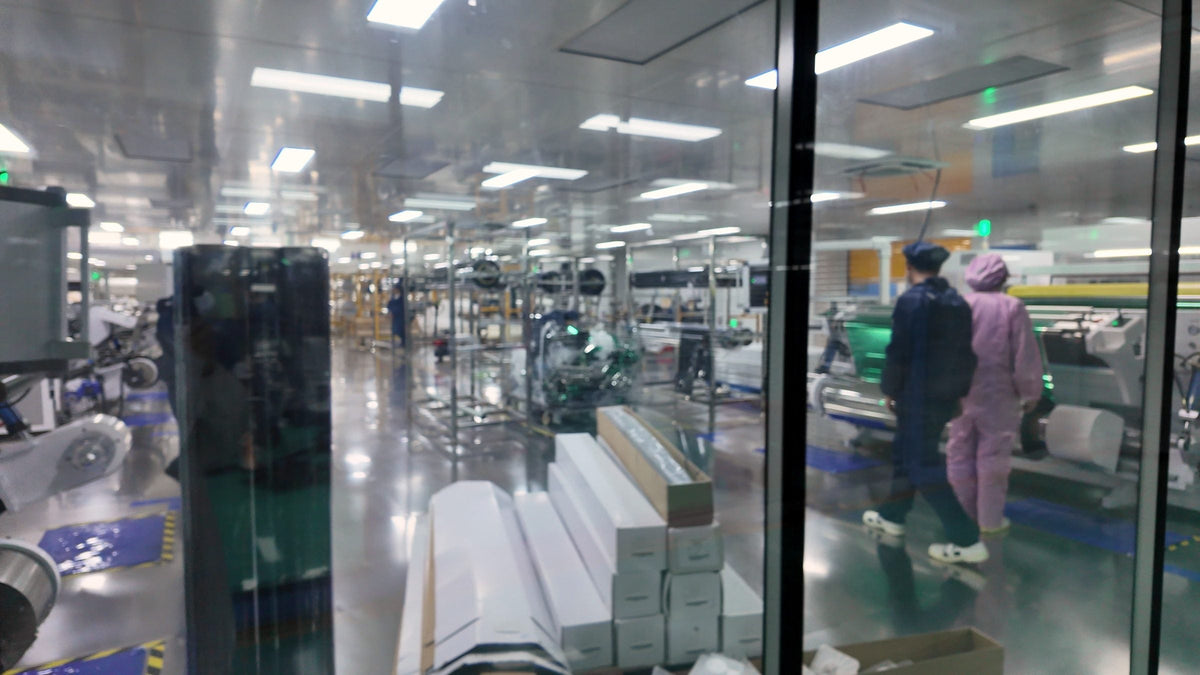
HIGHCOOL makes Vinyl Wrap, PPF, Color PPF and Window Film in its own 20,000 m² factory in Shanghai and sells by the roll to installers and distributors in 60+ countries. Our Vinyl Wrap is calendered PVC with air-release channels in the adhesive, in 300+ colors, on 1.52 m x 17 m rolls with a 2-year warranty. The channels take care of the trapped-air bubbles in problem 2; they do not replace center-out squeegee work. Each roll has its own code, so a problem can be traced to its batch. It suits flat and moderately curved panels and fleet graphics. For full wraps with deep recesses or a long outdoor life, we will tell you when a cast film is the better choice for that job.
The Vinyl Wrap color chart is $30, shipping not included, and lets you check colors before you commit a fleet to one. Rolls are in stock in Shanghai and ship from China. Distributors can find program details on our dealer page.
Rolls for your next jobs are on the Vinyl Wrap collection page. If callbacks on one job type keep pointing back to the film, send us the job and the quantity and we quote within 12 business hours.
FAQ
What are the most common vinyl wrap installation problems?
The most common are edge lift, air bubbles, peeling in the first year, wrinkles at compound curves, film creeping on hot horizontal panels, moisture near the edges, early fading and adhesive residue on removal. Most trace back to poor surface prep, wrong or missing post-heat, or film that does not suit the panel or climate.
How do I fix edge lift on a vinyl wrap?
If the edge is clean and recent, lift it with a plastic tool, clean the paint with isopropyl alcohol, warm the area, press the edge down from the center outward and post-heat it. If dirt has got into the adhesive, replace the section. Edge lift in a deep recess on calendered film usually needs a different film or a relief cut, not a re-press.
What temperature should vinyl wrap be installed at?
Install within the range on the film maker's install bulletin, and measure the panel surface with an infrared thermometer, not the room air. Dark panels in sun run much hotter than the bay, and cars brought in from the cold stay cold for a while. Let the panel settle into range before you start.

Share:
Vinyl Wrap Pricing for Shops: How to Build a Profitable Quote
Vinyl Wrap Repair: 5 Methods for Wrap Shops