Car wrapping has exploded in popularity, with social media flooded by DIY enthusiasts showing off their vinyl transformations. While some results are stunning, others serve as painful reminders of what happens when things go wrong.
If you're considering a DIY car wrap to save money, beware—cheap materials, poor technique, and simple oversights can turn your dream makeover into a nightmare. From peeling edges to unsightly bubbles, we’ve seen it all.
Here are the biggest DIY wrapping mistakes—and how to fix (or avoid) them.
Mistake #1: Buying Cheap Vinyl (And Regretting It Later)
The Problem:
Budget vinyl might seem like a steal—until it fades, cracks, or peels within months. Low-quality film not only looks bad but can also leave adhesive residue, damaging your car’s paint.
The Fix:
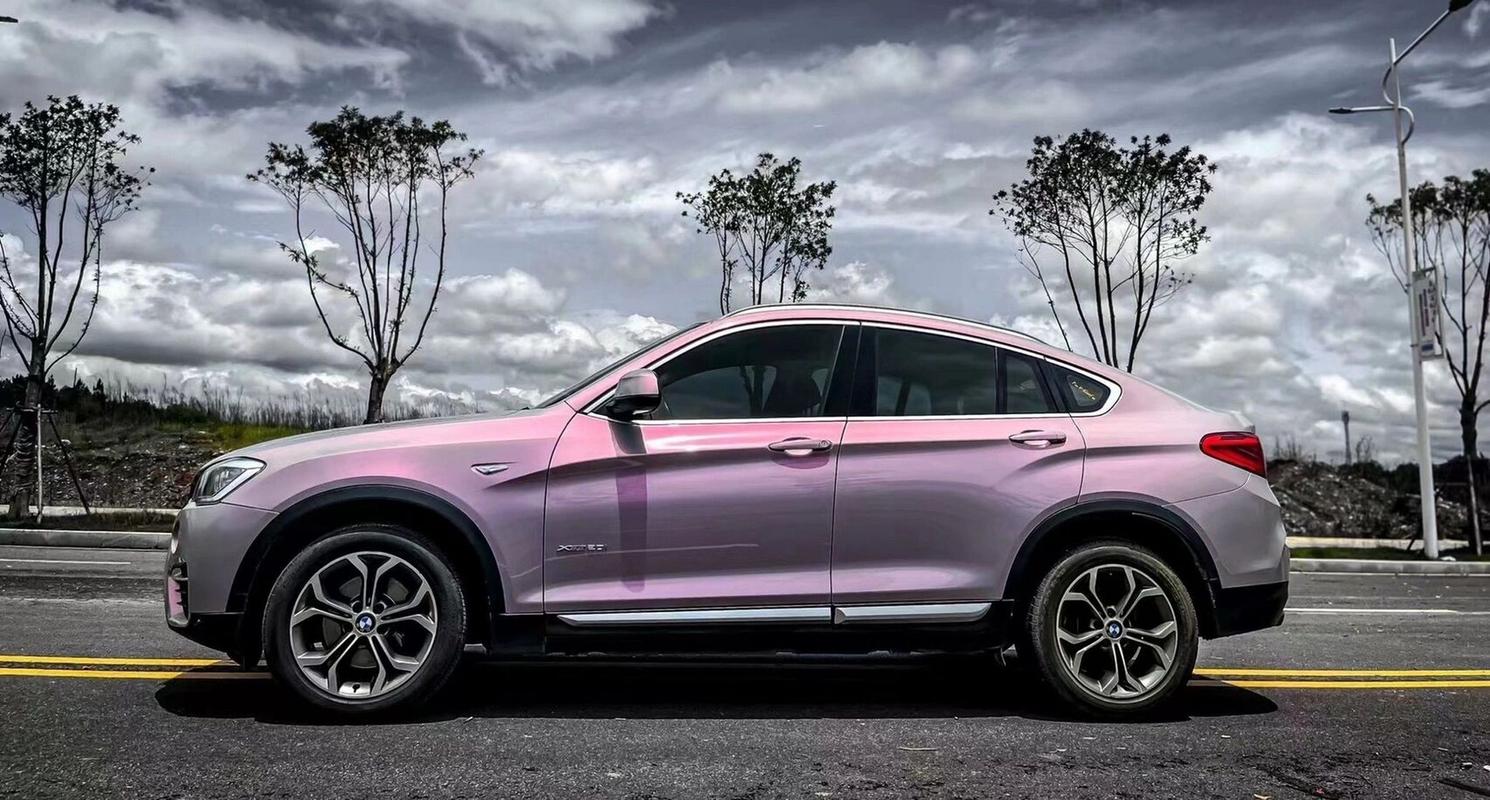
✔ Invest in premium vinyl—brands like 3M, Avery, or TeckWrap last longer and install easier.
✔ Check reviews before buying—real user experiences reveal which films hold up.
✔ If your wrap is already failing, strip it and start fresh with high-grade material.
Mistake #2: Bubbles Everywhere (The Silent Wrap Killer)
The Problem:
You thought you nailed the install—until tiny bubbles appeared. Trapped air or moisture causes these imperfections, making your wrap look amateurish and prone to peeling.
The Fix:
✔ For a few small bubbles, puncture them with an air release tool and smooth them out.
✔ If large bubbles dominate, redo the panel—proper prep and technique prevent this.
✔ Always clean and dry the surface before applying vinyl to avoid trapped moisture.
Mistake #3: Overstretching the Vinyl (A Recipe for Disaster)
The Problem:
Stretching vinyl too much (especially with heat) causes it to shrink back later, leading to lifting and wrinkles.
The Fix:
✔ Heat gently (60-80°C / 140-176°F) and keep the heat gun moving—never focus on one spot.
✔ If the vinyl resists stretching, stop—you’ve hit its limit.
✔ Stretch minimally on curves—better to use relief cuts than force it.
Mistake #4: Squeegee Struggles (Too Hard or Too Soft?)
The Problem:
Too little pressure = wrinkles & bubbles.
Too much pressure = stress marks & adhesive failure.
The Fix:
✔ Hold the squeegee at 45° and apply firm, even pressure.
✔ Work from the center outward to push air bubbles to the edges.
✔ Use a high-quality squeegee—cheap ones leave streaks.
Mistake #5: Ignoring the Edges (Why Your Wrap Won’t Stick)
The Problem:
Edges keep lifting? Dust, grease, or poor prep is likely the culprit.
The Fix:
✔ Deep-clean edges with isopropyl alcohol before wrapping.
✔ Use a clay bar to remove contaminants.
✔ After wrapping, post-heat edges for better adhesion.
Mistake #6: Wrapping in the Wrong Temperature
The Problem:
Too cold? Vinyl cracks and won’t stick.
Too hot/humid? Adhesive fails prematurely.
The Fix:
✔ Work in a climate-controlled space (73-79°F / 23-26°C).
✔ Use a garage heater in winter or avoid wrapping in extreme heat.
Mistake #7: Leaving Too Much Excess Film
The Problem:
Extra vinyl at edges folds, traps dirt, and looks messy.
The Fix:
✔ Trim edges to 5-7mm before tucking.
✔ Use a wrap stick to press edges neatly.
Mistake #8: Botched Corners (The DIY Wrap’s Weak Spot)
The Problem:
Bunched-up corners ruin the entire look.
The Fix:
✔ Lift, stretch, and tuck—don’t just push excess material.
✔ Post-heat corners to help the vinyl conform.
✔ Trim carefully with a sharp blade.
How to Get a Flawless DIY Wrap
✅ Prep like a pro—clean, clay bar, and alcohol wipe.
✅ Use premium vinyl—don’t cheap out!
✅ Practice first—try wrapping a small panel or test piece.
✅ Work with a friend—four hands are better than two.
✅ Keep extra vinyl—mistakes happen.
Final Thoughts: Should You DIY or Go Pro?
DIY wrapping can work—if you’re patient, use the right materials, and follow best practices. But if you want guaranteed perfection, a professional installer is worth the investment.
Still determined to DIY? Check out TeckWrap’s premium vinyl—durable, easy to apply, and available in stunning colors.
Have you tried wrapping your car? Share your wins (or disasters) in the comments! 🚗💨
Share:
Best Car Wraps – Buying Guide 2025 by Highcool
PPF vs. Ceramic Coating: Which One Should You Choose?